

Biscuit Balls Lena

Biscuit Balls: A Delightful Treat
Biscuit balls are a delightful culinary creation that captivates the taste buds with their delicious and juicy flavor. These bite-sized treats are not only pleasing to the palate but also evoke a sense of comfort and nostalgia, often associated with family gatherings and festive occasions. The soft and tender texture of the biscuit balls makes them incredibly enjoyable to eat, and they can be savored at any time of the day, whether as a snack, dessert, or even a breakfast option.
Easy Preparation
One of the most appealing aspects of biscuit balls is their simplicity in preparation. They require minimal ingredients, which are typically staples found in most kitchens. The basic components often include flour, baking powder, butter, sugar, and milk, combined to create a dough that is both rich and flavorful. The process begins by mixing the dry ingredients, followed by incorporating the wet ingredients until a soft dough forms. This dough can then be shaped into small balls, making it a fun activity for both novice and experienced bakers alike.
Quick Cooking Time
In addition to being easy to prepare, biscuit balls are also remarkably quick to cook. Once shaped, they can be baked in a preheated oven for just a short period, usually around 10 to 15 minutes, until they turn a lovely golden brown. This quick cooking time makes them an ideal choice for those unexpected guests or when a sweet craving strikes at the last minute. The result is a batch of warm, fluffy biscuit balls that are ready to be enjoyed in no time.
Versatile Variations
Biscuit balls are incredibly versatile, allowing for a variety of flavor combinations and additions. For those who enjoy a hint of sweetness, chocolate chips, dried fruits, or nuts can be mixed into the dough. Alternatively, savory versions can be created by incorporating cheese, herbs, or spices, making them suitable for a wide range of palates. This adaptability means that biscuit balls can be tailored to suit any occasion, whether it’s a cozy family brunch or a festive holiday celebration.
Enjoyment and Serving Suggestions
The pleasure of eating biscuit balls is heightened when they are served warm, often accompanied by a drizzle of honey, a dusting of powdered sugar, or a dollop of jam. They can be enjoyed on their own or paired with a cup of coffee or tea for a delightful afternoon treat. Additionally, biscuit balls can be transformed into a more elaborate dessert by serving them with ice cream or a rich chocolate sauce, elevating their status from a simple snack to a gourmet indulgence.
Conclusion
In conclusion, biscuit balls are a delicious and juicy treat that brings joy to those who indulge in them. Their ease of preparation and quick cooking time make them a favorite among home bakers, while their versatility allows for endless variations that cater to diverse tastes. Whether enjoyed as a sweet or savory snack, biscuit balls are sure to be a hit at any gathering, bringing smiles and satisfaction with every bite.
Ingredients: simple, total time:30 min.
100 ml of water
200 g of sugar
125 g butter or margarine
200 g milk powder substitute
400 g ground biscuits
Melted chocolate for dipping

Preparation:
Begin by placing a suitable pot on the stove and pouring in a measured amount of sugar along with an equal part of water. Set the burner to low to moderate heat, ensuring that the mixture heats gradually. As the sugar begins to dissolve, stir gently to combine the ingredients thoroughly. Once the sugar has completely dissolved and the mixture reaches a gentle simmer, introduce margarine into the pot. Continue to stir the mixture consistently until the margarine is fully melted and incorporated, creating a smooth syrup-like consistency. This process not only helps to blend the ingredients but also enhances the flavor profile of the final product.
Once the margarine has melted and the mixture is well combined, carefully remove the pot from the heat source. It is crucial to allow the mixture to cool completely at room temperature. This cooling phase is important as it prevents any subsequent ingredients from melting or altering in texture. To expedite the cooling process, you may transfer the mixture into a larger bowl or spread it out onto a baking sheet. Ensure that it is left undisturbed until it has reached a safe temperature for the next steps.
After the mixture has cooled down sufficiently, it is time to introduce powdered milk. Gradually add the powdered milk to the cooled mixture, ensuring you sprinkle it in evenly. This step is essential for achieving the right consistency and flavor. Using a spatula or a whisk, mix the ingredients thoroughly, taking care to break up any clumps of powdered milk that may form during the process. The goal is to achieve a homogeneous mixture that is free of lumps, which will contribute to the overall texture of the final product.
Once the powdered milk is fully incorporated and the mixture is smooth, it's time to add the ground biscuits. These crushed biscuits will provide a delightful crunch and enhance the flavor of the mixture. Carefully fold the ground biscuits into the mixture, ensuring that they are evenly distributed throughout. This step is crucial as it adds body and substance to the mixture, transforming it into a dough-like consistency. Continue to mix everything well until all the ingredients are combined, ensuring that the ground biscuits are fully integrated without any dry pockets remaining.
With the mixture now well combined, it’s time to shape it into individual portions. Take small amounts of the mixture and roll them between your palms to form uniform balls. The size of the balls can vary based on your preference, but aim for a consistent size to ensure even coating later on. As you shape the mixture, place the formed balls onto a tray lined with parchment paper, allowing them to rest and maintain their shape. This step is not only fun but also allows for creativity in sizing and presentation.
Next, prepare to dip the shaped balls into melted chocolate, which will provide a rich coating and enhance the overall flavor. Melt your choice of chocolate, whether it be dark, milk, or white chocolate, in a microwave-safe bowl or using a double boiler method. Once the chocolate is fully melted and smooth, take each ball and dip it into the chocolate, ensuring it is completely coated. You may use a fork or a skewer to help with the dipping process, allowing excess chocolate to drip off before placing the coated balls back onto the parchment-lined tray.
After all the balls have been dipped in chocolate, it’s time to let them cool and set. Place the tray in a cool area or in the refrigerator to allow the chocolate coating to harden completely. This cooling phase is essential for achieving a firm shell that will hold the treats together. Once the chocolate has set, your deliciously coated treats will be ready to enjoy. You can serve them immediately or store them in an airtight container for later enjoyment, making them perfect for sharing at gatherings or as a sweet indulgence anytime.
Buon appetito!
"A recipe may begin with ingredients, but its true flavor comes from the love and memories shared through it." ☕🍰🌹
NOTE:
Besides dark chocolate, milk chocolate can be used for decoration, and white chocolate is available for coloring the treats as desired.
Ground roasted hazelnuts, walnuts, or almonds may be used for decoration.
Store the chocolate dessert in the refrigerator, covered in a container, for up to 7 to 10 days.
Do you want to try something a little different?


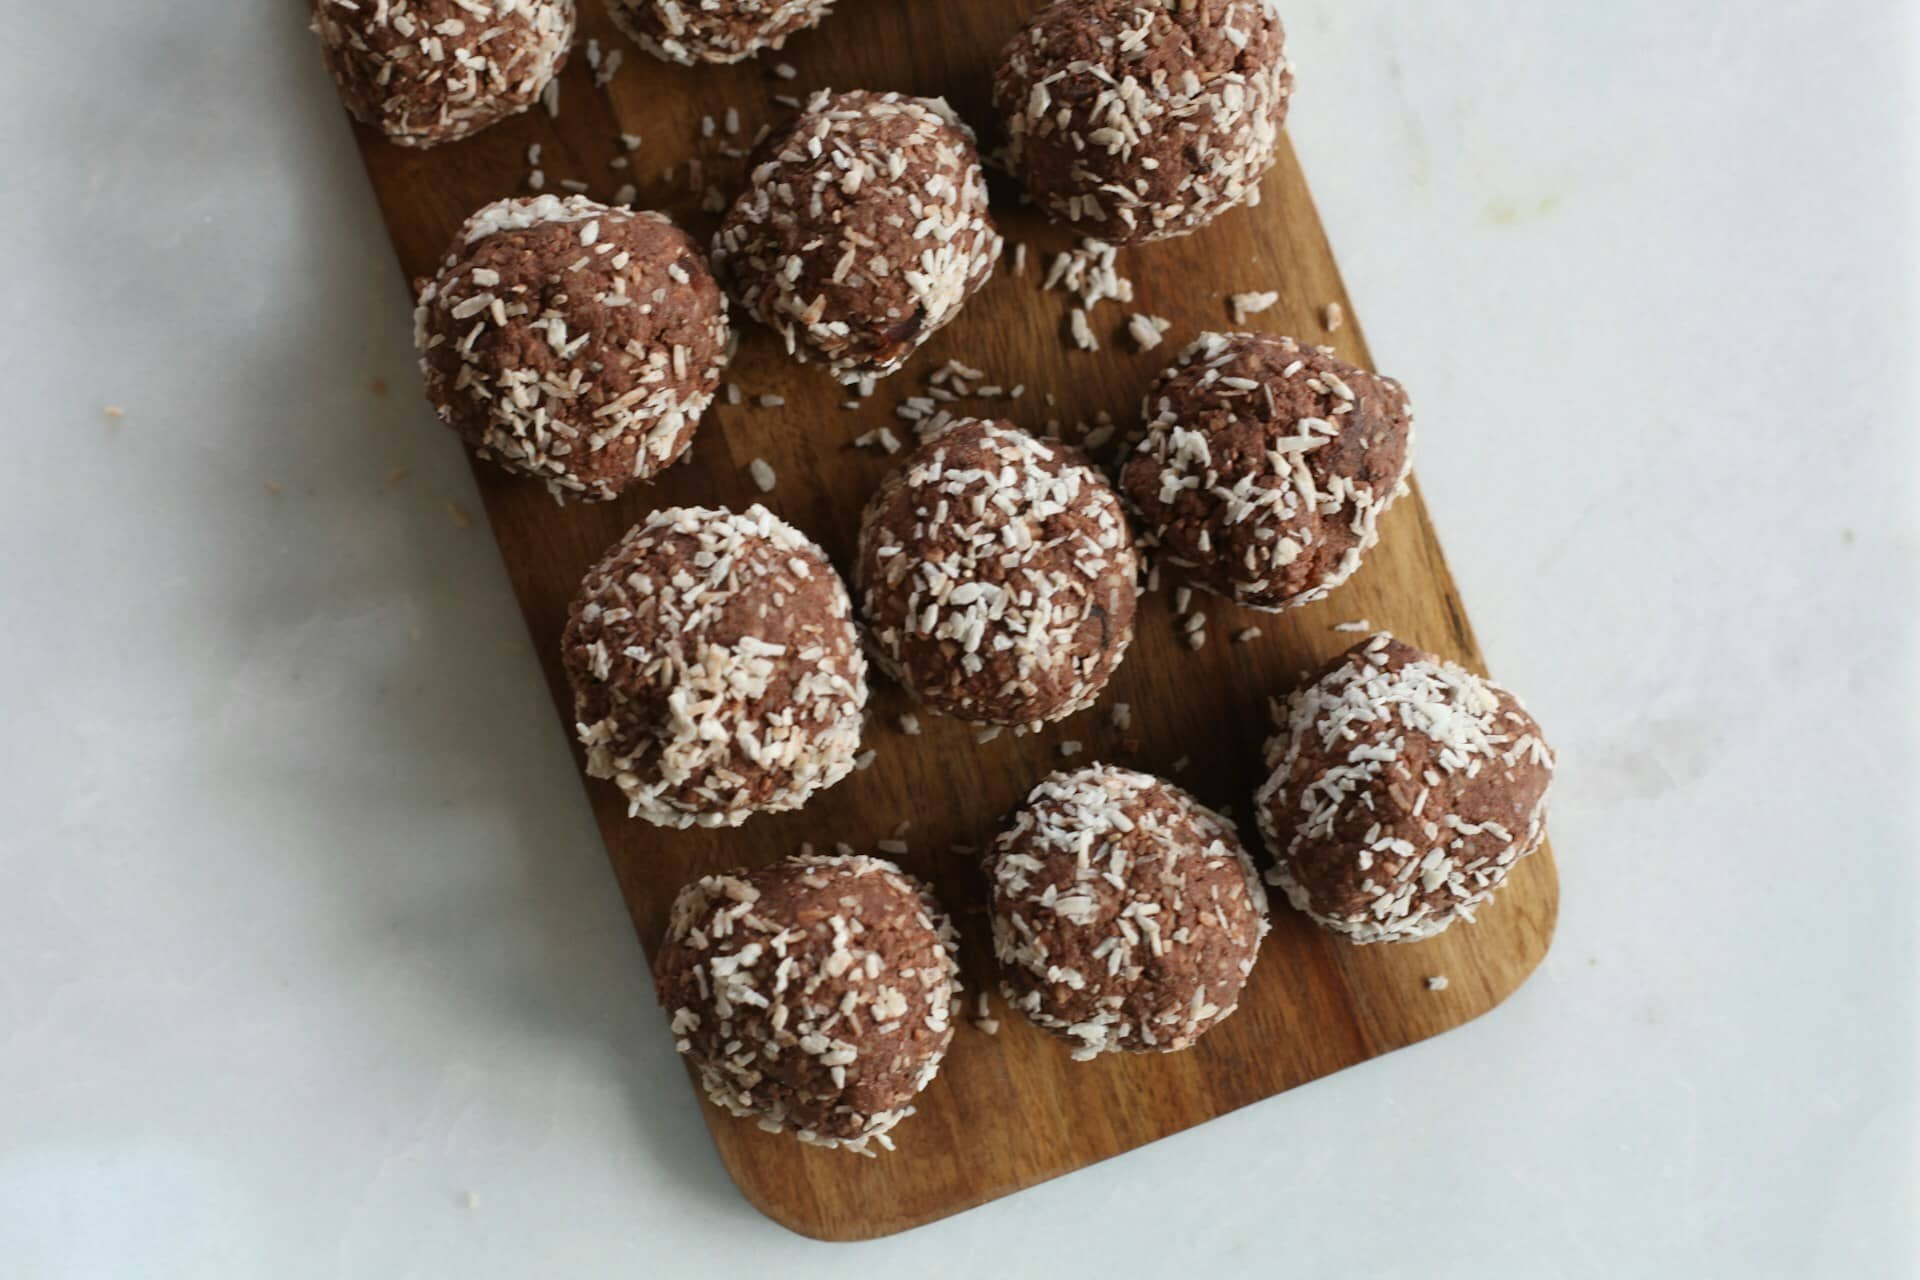

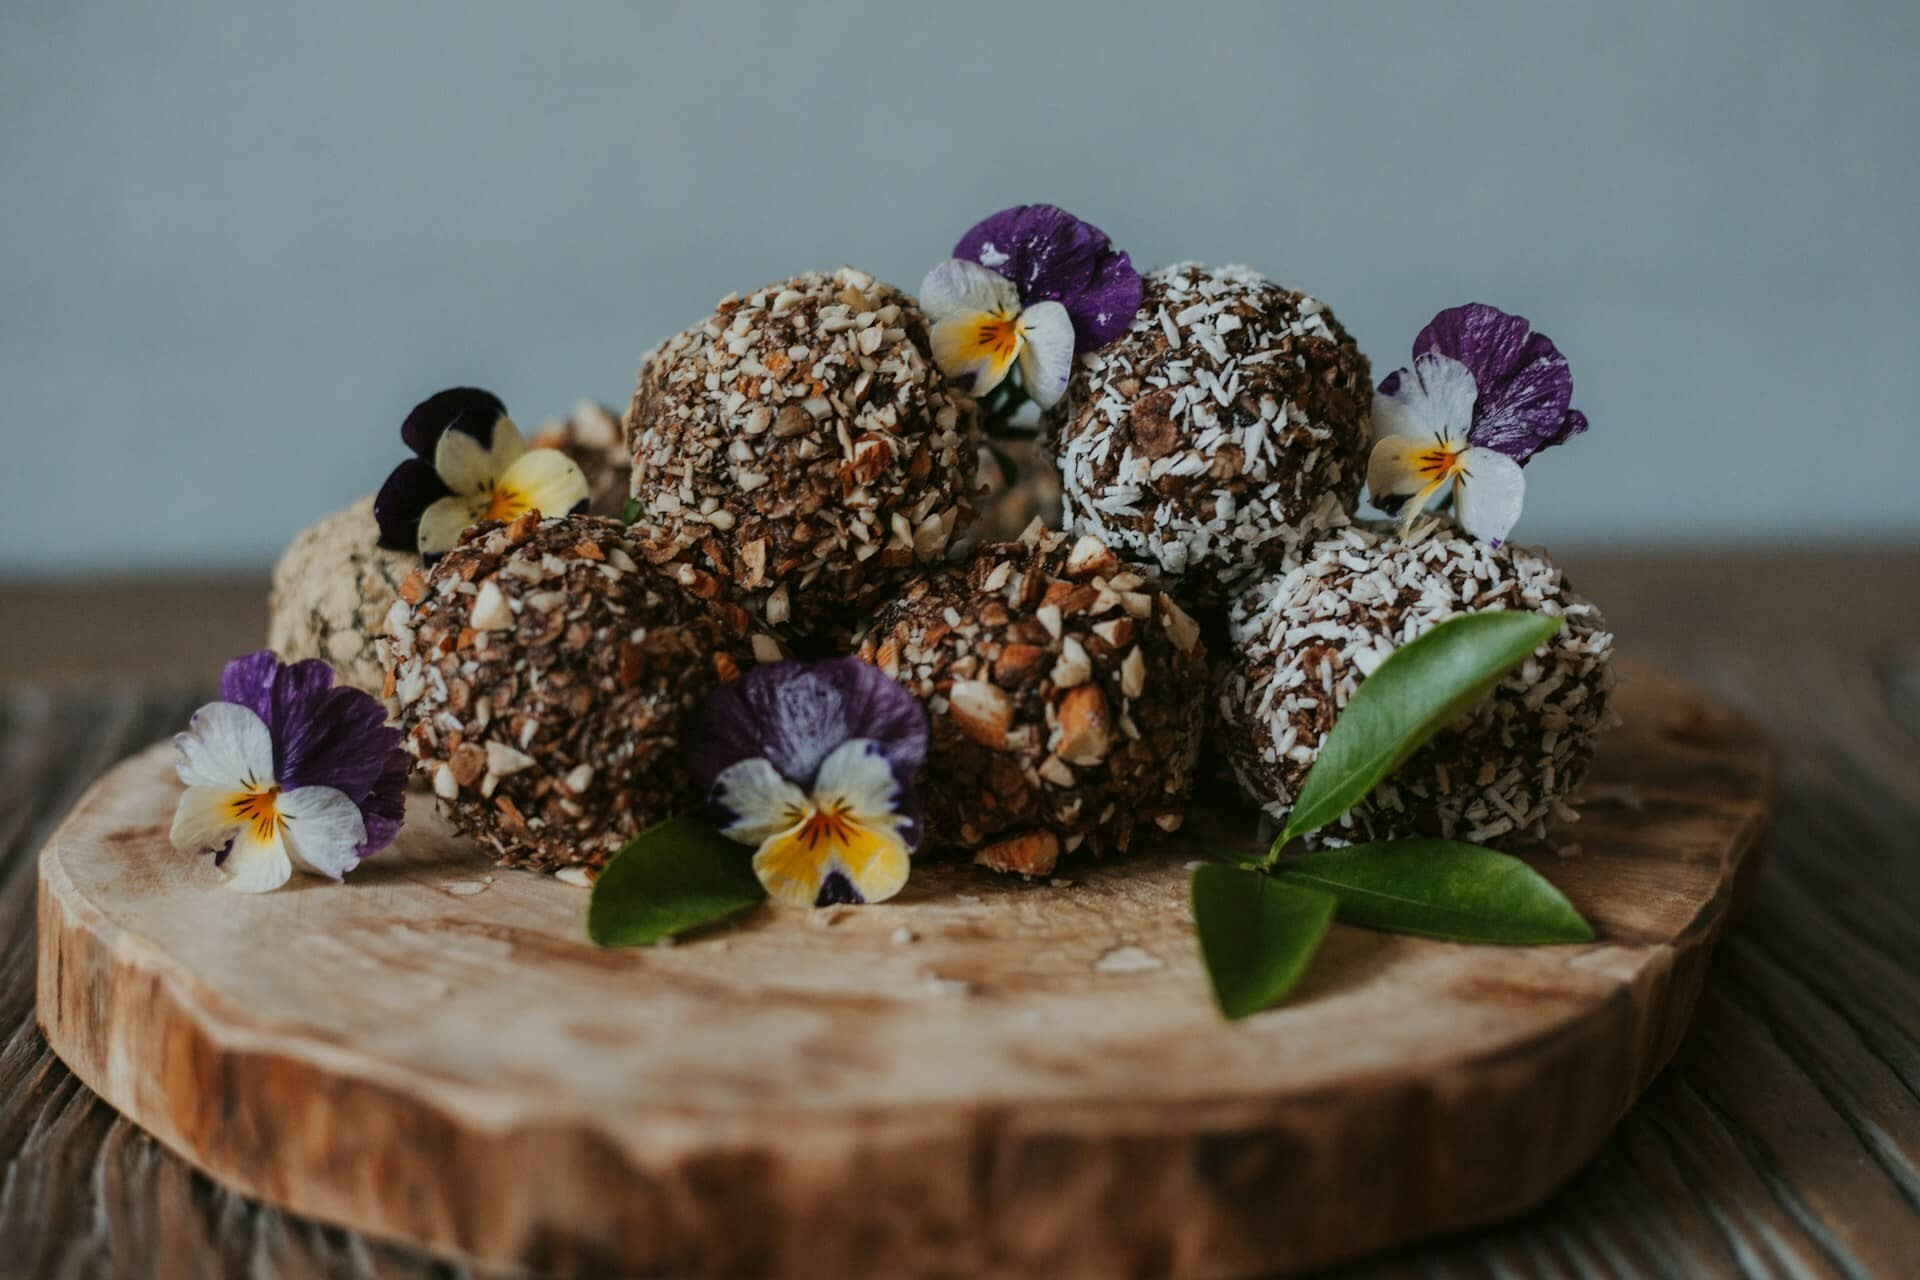


#biscuits #balls #chocolate #dessert #simple #easy #treat #easyrecipes #quickrecipes #holidays #deliciousdessert
Use the contact form for questions or advice.
I would be happy if you would comment on my recipes and put like.


Comments