

Homemade Ice Cream our Grandmothers
- Helena Radulovic Toffolon

- Jul 11, 2021
- 4 min read
Updated: Jun 27
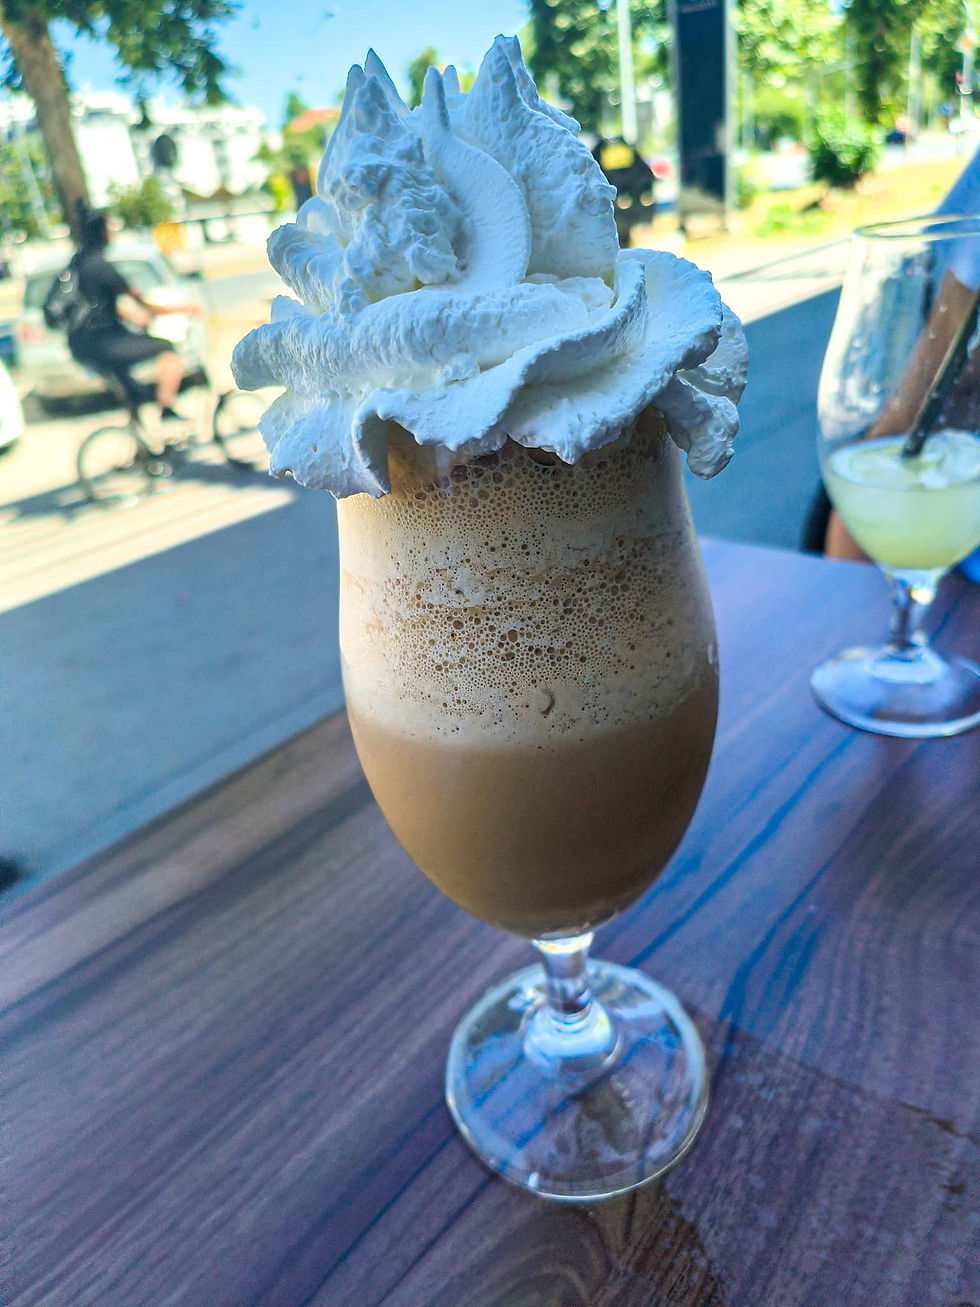
Indulge in a Creamy Ice Cream Treat
Indulge in a creamy ice cream treat that is not only delicious but also crafted in the traditional manner, using cherished recipes that have been lovingly passed down from our grandmothers. This delightful dessert embodies the essence of nostalgia, bringing back memories of warm summer days, family gatherings, and the simple joy of homemade goodness. The rich, velvety texture and the sweet, comforting flavors of this ice cream will transport you to a time when life was a little simpler and desserts were made with care and love.
The Art of Traditional Ice Cream Making
Making ice cream the traditional way is an art form that requires patience and attention to detail. The process begins with high-quality ingredients, including fresh cream, whole milk, sugar, and natural flavorings such as vanilla beans or ripe fruits. Each of these components plays a crucial role in achieving the perfect balance of sweetness and creaminess. The use of fresh, local ingredients not only enhances the flavor but also supports local farmers and producers, making your treat even more special.
Step-by-Step Preparation
This delightful dessert is simple to prepare, and here’s how you can make it in your own kitchen:
1. Gather Your Ingredients: Start by collecting all the necessary ingredients. You will need:
- 2 cups of heavy cream
- 1 cup of whole milk
- 3/4 cup of granulated sugar
- 1 tablespoon of pure vanilla extract (or the seeds from one vanilla bean)
- A pinch of salt
2. Mixing the Base: In a mixing bowl, combine the heavy cream, whole milk, sugar, and salt. Whisk the mixture until the sugar is fully dissolved, ensuring that the base is smooth and creamy. If you’re using vanilla beans, scrape the seeds into the mixture for an extra burst of flavor.
3. Chill the Mixture: Cover the bowl with plastic wrap and place it in the refrigerator for at least 2 hours, or overnight if time allows. Chilling the mixture allows the flavors to meld beautifully and results in a creamier texture once frozen.
4. Churning the Ice Cream: After the mixture has chilled, pour it into your ice cream maker. Follow the manufacturer’s instructions for churning, which typically takes about 20 to 30 minutes. As it churns, the mixture will gradually thicken and increase in volume, transforming into a luscious, creamy consistency.
5. Freezing: Once the ice cream has reached a soft-serve texture, transfer it to an airtight container. For a firmer consistency, place the container in the freezer for an additional 4 hours or until it reaches your desired firmness.
6. Serving Your Creation: When you’re ready to enjoy your homemade ice cream, scoop it into bowls or cones. You can serve it plain or add toppings such as fresh fruit, chocolate syrup, or crushed nuts to elevate your dessert experience.
The Joy of Homemade Ice Cream
The satisfaction of creating your own ice cream cannot be overstated. Not only do you have control over the ingredients, ensuring that your treat is free from artificial additives and preservatives, but you also get to experiment with flavors, creating unique combinations that reflect your personal taste. Whether you choose classic vanilla, rich chocolate, or adventurous flavors like lavender honey or salted caramel, the possibilities are endless.
Conclusion
Sharing this homemade ice cream with family and friends can turn an ordinary day into a special occasion. Each scoop is a reminder of the love and care that went into making it, evoking feelings of warmth and togetherness. So, roll up your sleeves, gather your loved ones, and embark on this delightful culinary journey that honors the recipes of our grandmothers while creating new memories for generations to come.
Ingredients: simple, total time: 45 min.
3 eggs
10 Tbsp sugar
1 Tbsp density
500 ml of milk
20 g butter
chocolate, vanilla, strawberry

Preparation:
Whisk the egg yolks with three spoons of sugar until the mixture thickens.
Gradually incorporate the gently simmering milk, continuing to cook until a smooth consistency is achieved.
Beat the egg whites with the remaining sugar, then carefully fold them into the warm (not hot) mixture, using a mixer to ensure thorough blending.
Incorporate the softened butter into the mixture.
Divide the mixture into three equal portions.
Add melted chocolate to one portion, vanilla aroma to another, and chopped strawberries to the third.
Place in the freezer to chill completely. Before serving, allow it to soften briefly for easier serving.
Buon appetito!
"A recipe may begin with ingredients, but its true flavor comes from the love and memories shared through it." ☕🍰🌹
NOTE:
Keep the ice cream in the freezer for up to a month.
Do you want to try something a little different?


Use the contact form for questions or advice.
I would be happy if you would comment on my recipes and put like.


Comments