

Rich Capri Cake

Updated: Oct 21
Capri Cake: A Beloved Serbian Dessert
One of the most popular desserts in Serbia is the rich and indulgent Capri cake. This delightful cake has garnered a reputation for its unique combination of flavors and textures, making it a favorite choice for various celebrations and gatherings.
Texture and Flavor Profile
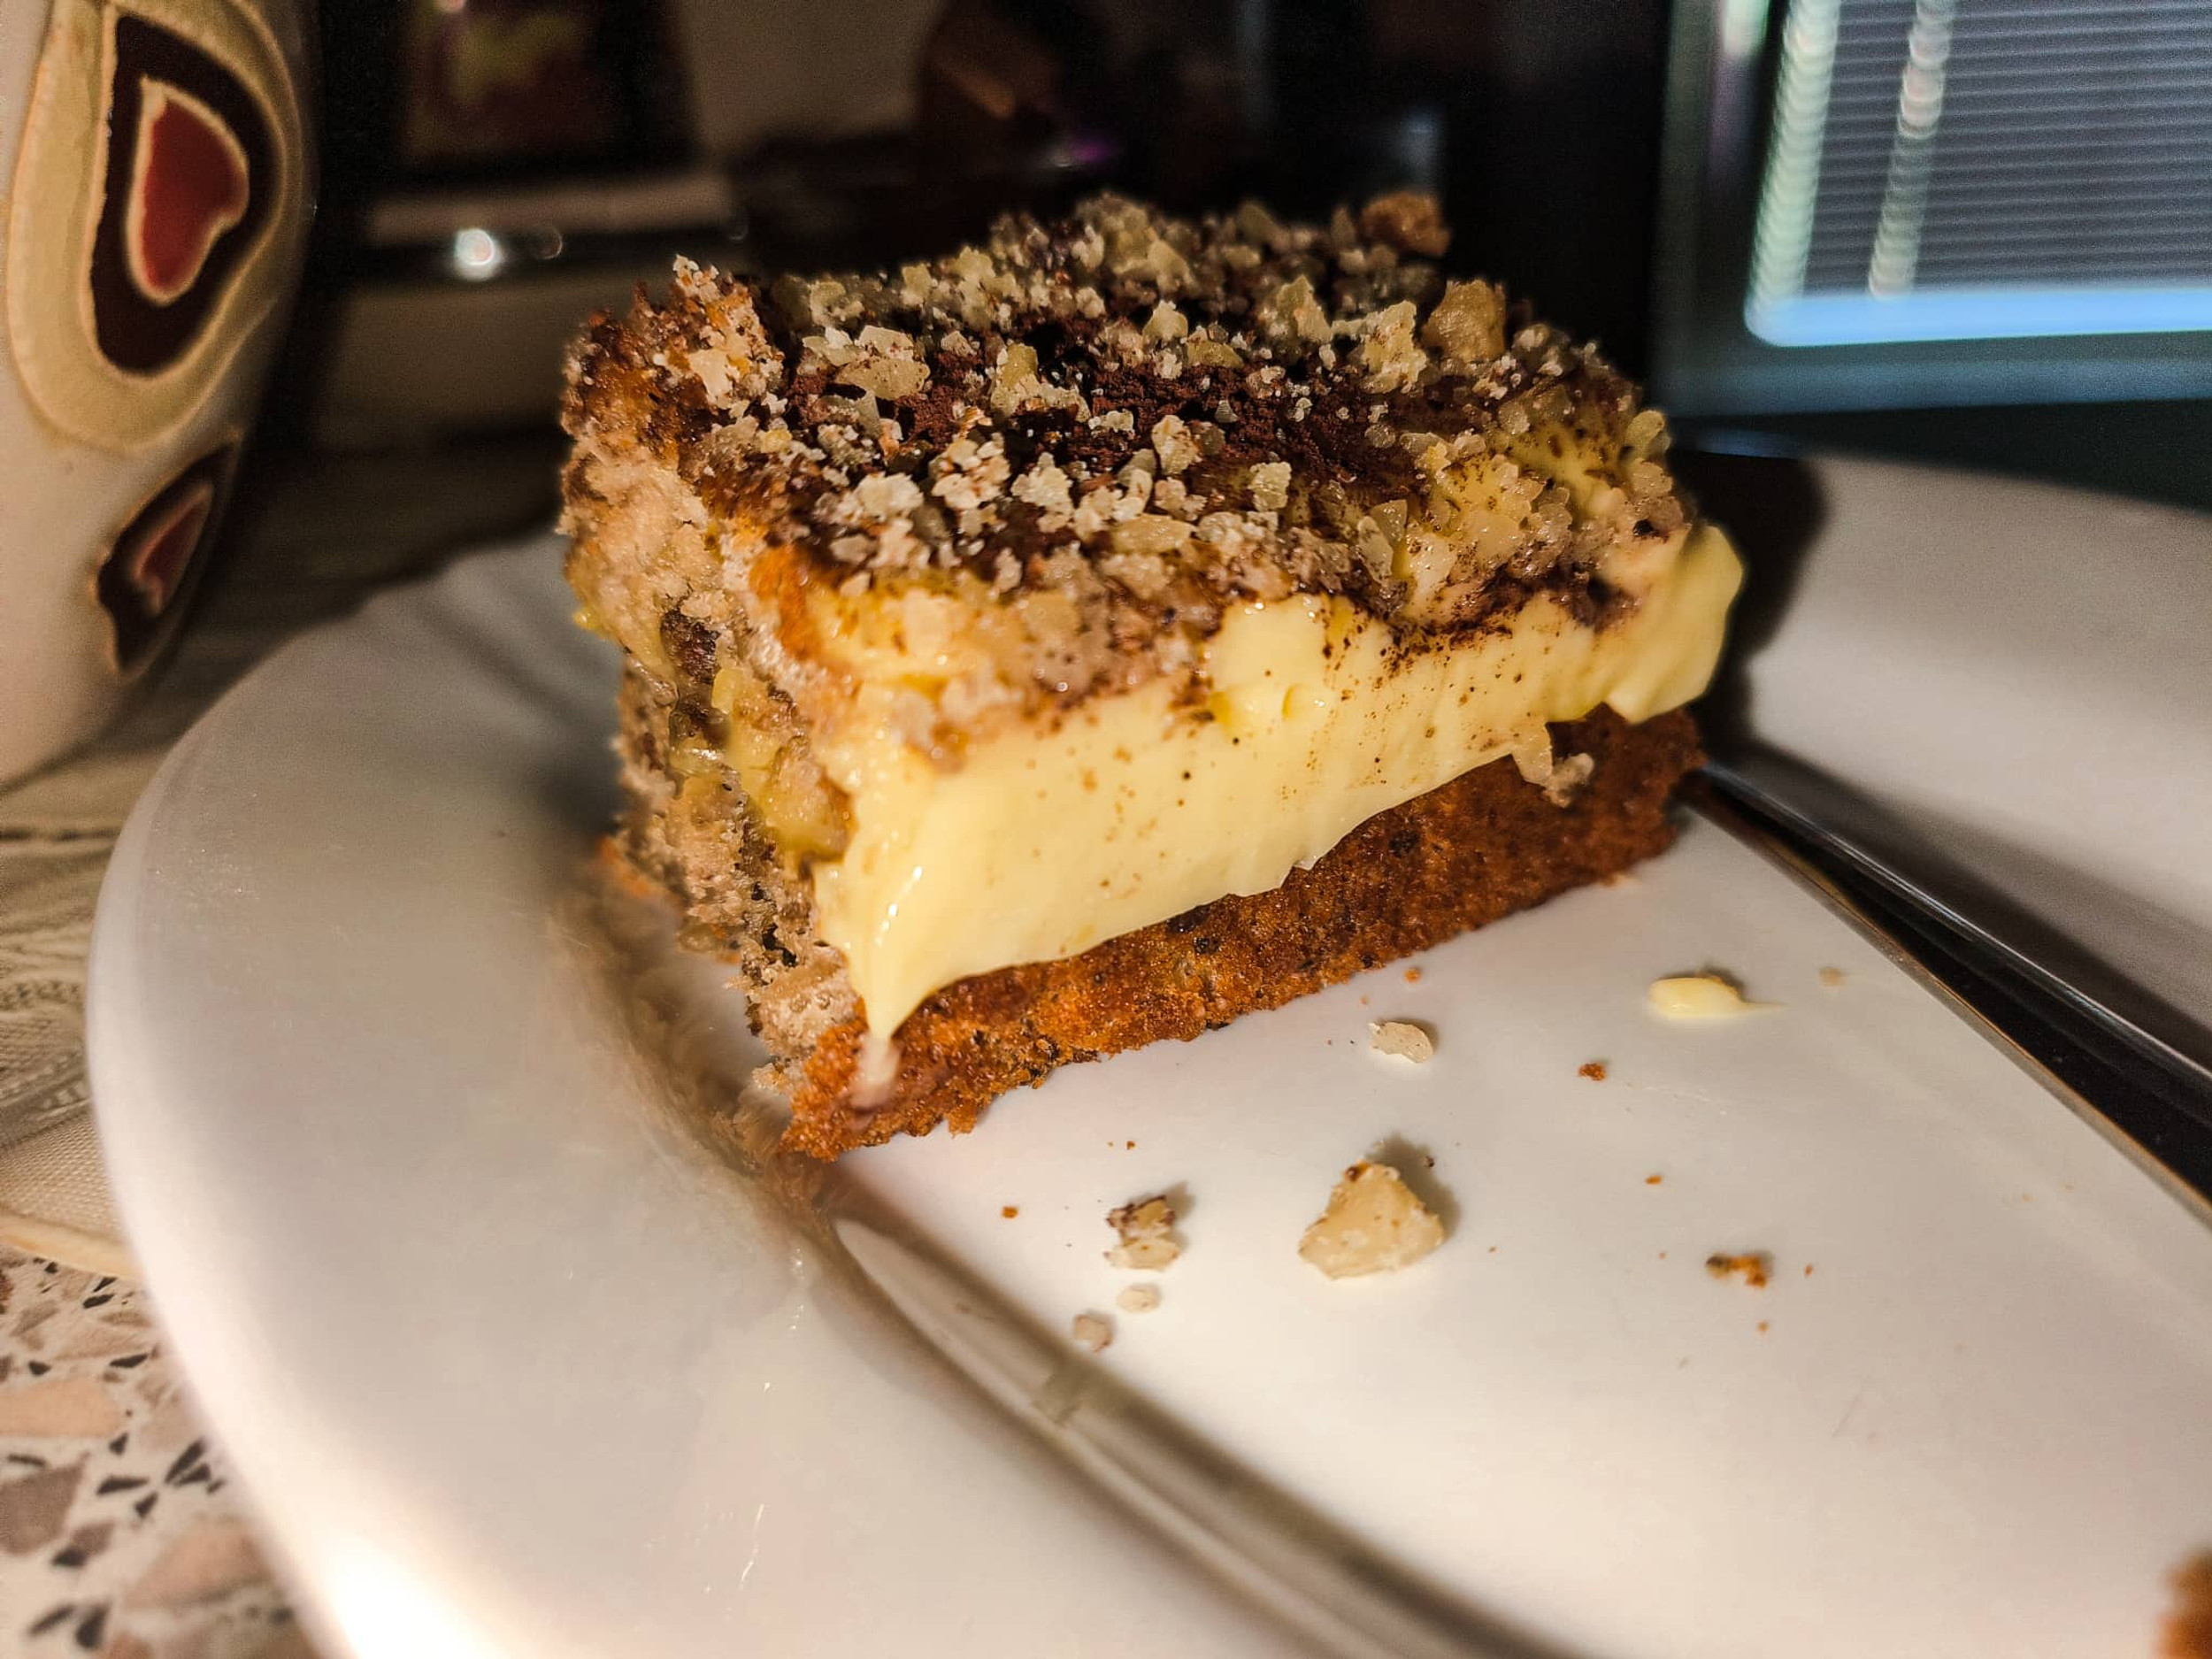
The Capri cake is particularly celebrated for its moist and tender texture, which is achieved through a careful balance of ingredients and baking techniques. The cake features a luscious yellow vanilla filling that provides a warm, comforting flavor, perfectly complemented by a vibrant red fruit filling. This fruit layer typically consists of seasonal berries or cherries, which add a refreshing tartness that contrasts beautifully with the sweetness of the vanilla. To elevate the dessert even further, a generous layer of whipped cream is spread on top, creating a light and airy finish. Additionally, shavings of rich chocolate are often sprinkled over the cake, adding a touch of decadence and visual appeal.
Preparation and Ingredients
The preparation of the Capri cake is straightforward and uncomplicated, making it accessible for bakers of all skill levels. The recipe generally calls for basic ingredients such as flour, sugar, eggs, and butter, which are staples in many baking endeavors. The vanilla filling is crafted using high-quality vanilla extract or vanilla bean, ensuring an authentic flavor that shines through. The red fruit filling can be made from fresh or frozen fruits, which are cooked down with sugar to create a thick, flavorful compote that enhances the overall taste of the cake. The process begins with baking the cake layers until they achieve a golden brown color, which adds to the overall visual appeal of the dessert. Once the layers have cooled, they are carefully assembled with the layers of vanilla and red fruit filling in between. The whipped cream is then spread generously on top, and chocolate shavings are added as a finishing touch, making the cake not only delicious but also a feast for the eyes.
Serving and Enjoyment
Capri cake is often served during special occasions such as birthdays, weddings, and family gatherings, where it is sure to impress guests with its striking appearance and delightful taste. It pairs wonderfully with a cup of coffee or tea, making it a perfect choice for afternoon gatherings or dessert after a hearty meal. In conclusion, the Capri cake stands out as a quintessential Serbian dessert that embodies the rich culinary traditions of the region. Its combination of moist cake, flavorful fillings, and light toppings makes it a beloved treat that continues to be enjoyed by many. By following the simple recipe, anyone can create this delightful dessert and share a piece of Serbian culture with friends and family.
Ingredients: simple, total time: 80 min.
Bark:
10 egg whites
15 level Tbsp of granulated sugar
12 Tbsp of ground walnuts
1 Tbsp of flour
1/2 bag of baking powder/ 5 g
Yellow Filling:
10 egg yolks
150 g of granulated sugar
1 bag vanilla sugar/ 10 g
3 Tbsp of density
3 Tbsp of flour
500 ml of milk
200 g of butter / diced
Red Fruit Filling:
600 g of frozen strawberries
300 g of sugar
250 ml of water
2 strawberry-flavored pudding powders/ 80 g
1 bag gelatin
Chocolate Topping:
100 g of cooking chocolate
50 g of butter
6 Tbsp of oil
For Decorating:
200 ml whipped cream
200 melted chocolate
ground biscuits
fruit

Preparation:
Bark:
Beat the egg whites until they become foamy. Gradually add the sugar while continuing to beat at high speed. Once the mixture reaches stiff peaks, gently fold in the ground walnuts with a spatula to achieve a uniform consistency. Next, add the sifted flour and baking powder, and carefully combine the ingredients again using a spatula.
Prepare the baking tray by greasing it and placing a sheet of baking paper on top. Pour the crust mixture onto the tray, spreading and leveling it evenly.
Bake at 180 °C for approximately 25 minutes.
After baking, invert the biscuit and remove the baking paper. Cut it into two equal parts and allow it to cool. Proceed to prepare the yellow cream.
Cream:
Whisk the egg yolks with 150 g of sugar until the mixture becomes foamy and light yellow. Add the flour and vanilla sugar, mixing thoroughly.
Reserve 150 ml of milk from the total amount, and heat the remaining milk in a small pan over low to moderate heat.
Mix the thickener with the reserved 150 ml of milk, ensuring a smooth consistency without lumps. Add this mixture to the egg yolk mixture and beat well.
When the milk begins to boil, gradually incorporate the egg yolk mixture, stirring continuously with a whisk until it thickens into a cream.
Once thickened, remove the cream from the heat and add the butter, cut into cubes. Mix thoroughly with a mixer until smooth and uniform.
Cover the cream with plastic wrap and allow it to cool at room temperature.
Meanwhile, prepare a red filling. Divide the cream into two equal portions, similar to the red cream.
Red Filling:
Blend the frozen strawberries until smooth.
In a pan, combine sugar and 100 ml of water. Heat over low to moderate heat. In the remaining water, mix the pudding and gelatin, ensuring there are no lumps.
Once the sugar and water reach a boil, add the strawberries and stir until they dissolve.
When the strawberries are fully melted and boiling, incorporate the pudding and gelatin mixture, stirring continuously until the mixture thickens. Once thickened, remove from heat and divide into two equal portions.
Melt the chocolate with butter and oil, using either a microwave or a double boiler. Allow it to cool briefly, then divide into two equal portions.
Place the first layer on a decorative tray, cover with the red filling and smooth it out, then add the yellow filling on top and smooth again. Pour a thin layer of melted chocolate over it.
Place the second layer on top and repeat the process: red filling, yellow filling, and melted chocolate. Proceed with decorating the cake.
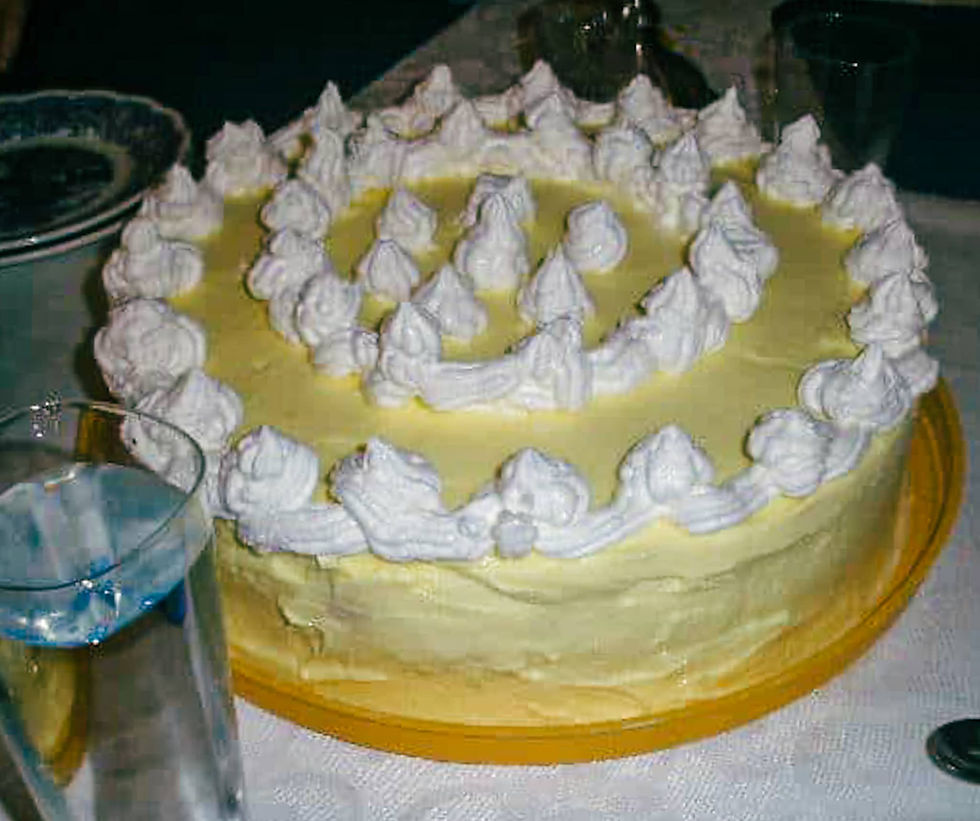
Decorate with whipped cream or sweet cream combined with melted chocolate, or opt for just melted chocolate. You may also add fruits or ground biscuits as desired.
Allow the cake to cool for 4 hours before slicing and serving.
Buon appetito!
"May your kitchen always be filled with wonderful aromas, your table with good food, and your heart with the joy of sharing" ☕❤️🌹
NOTE:
Keep the dessert in the refrigerator for up to 4 days.
You can pack it in the freezer in aluminum boxes with lids.
Do you want to try something a little different?



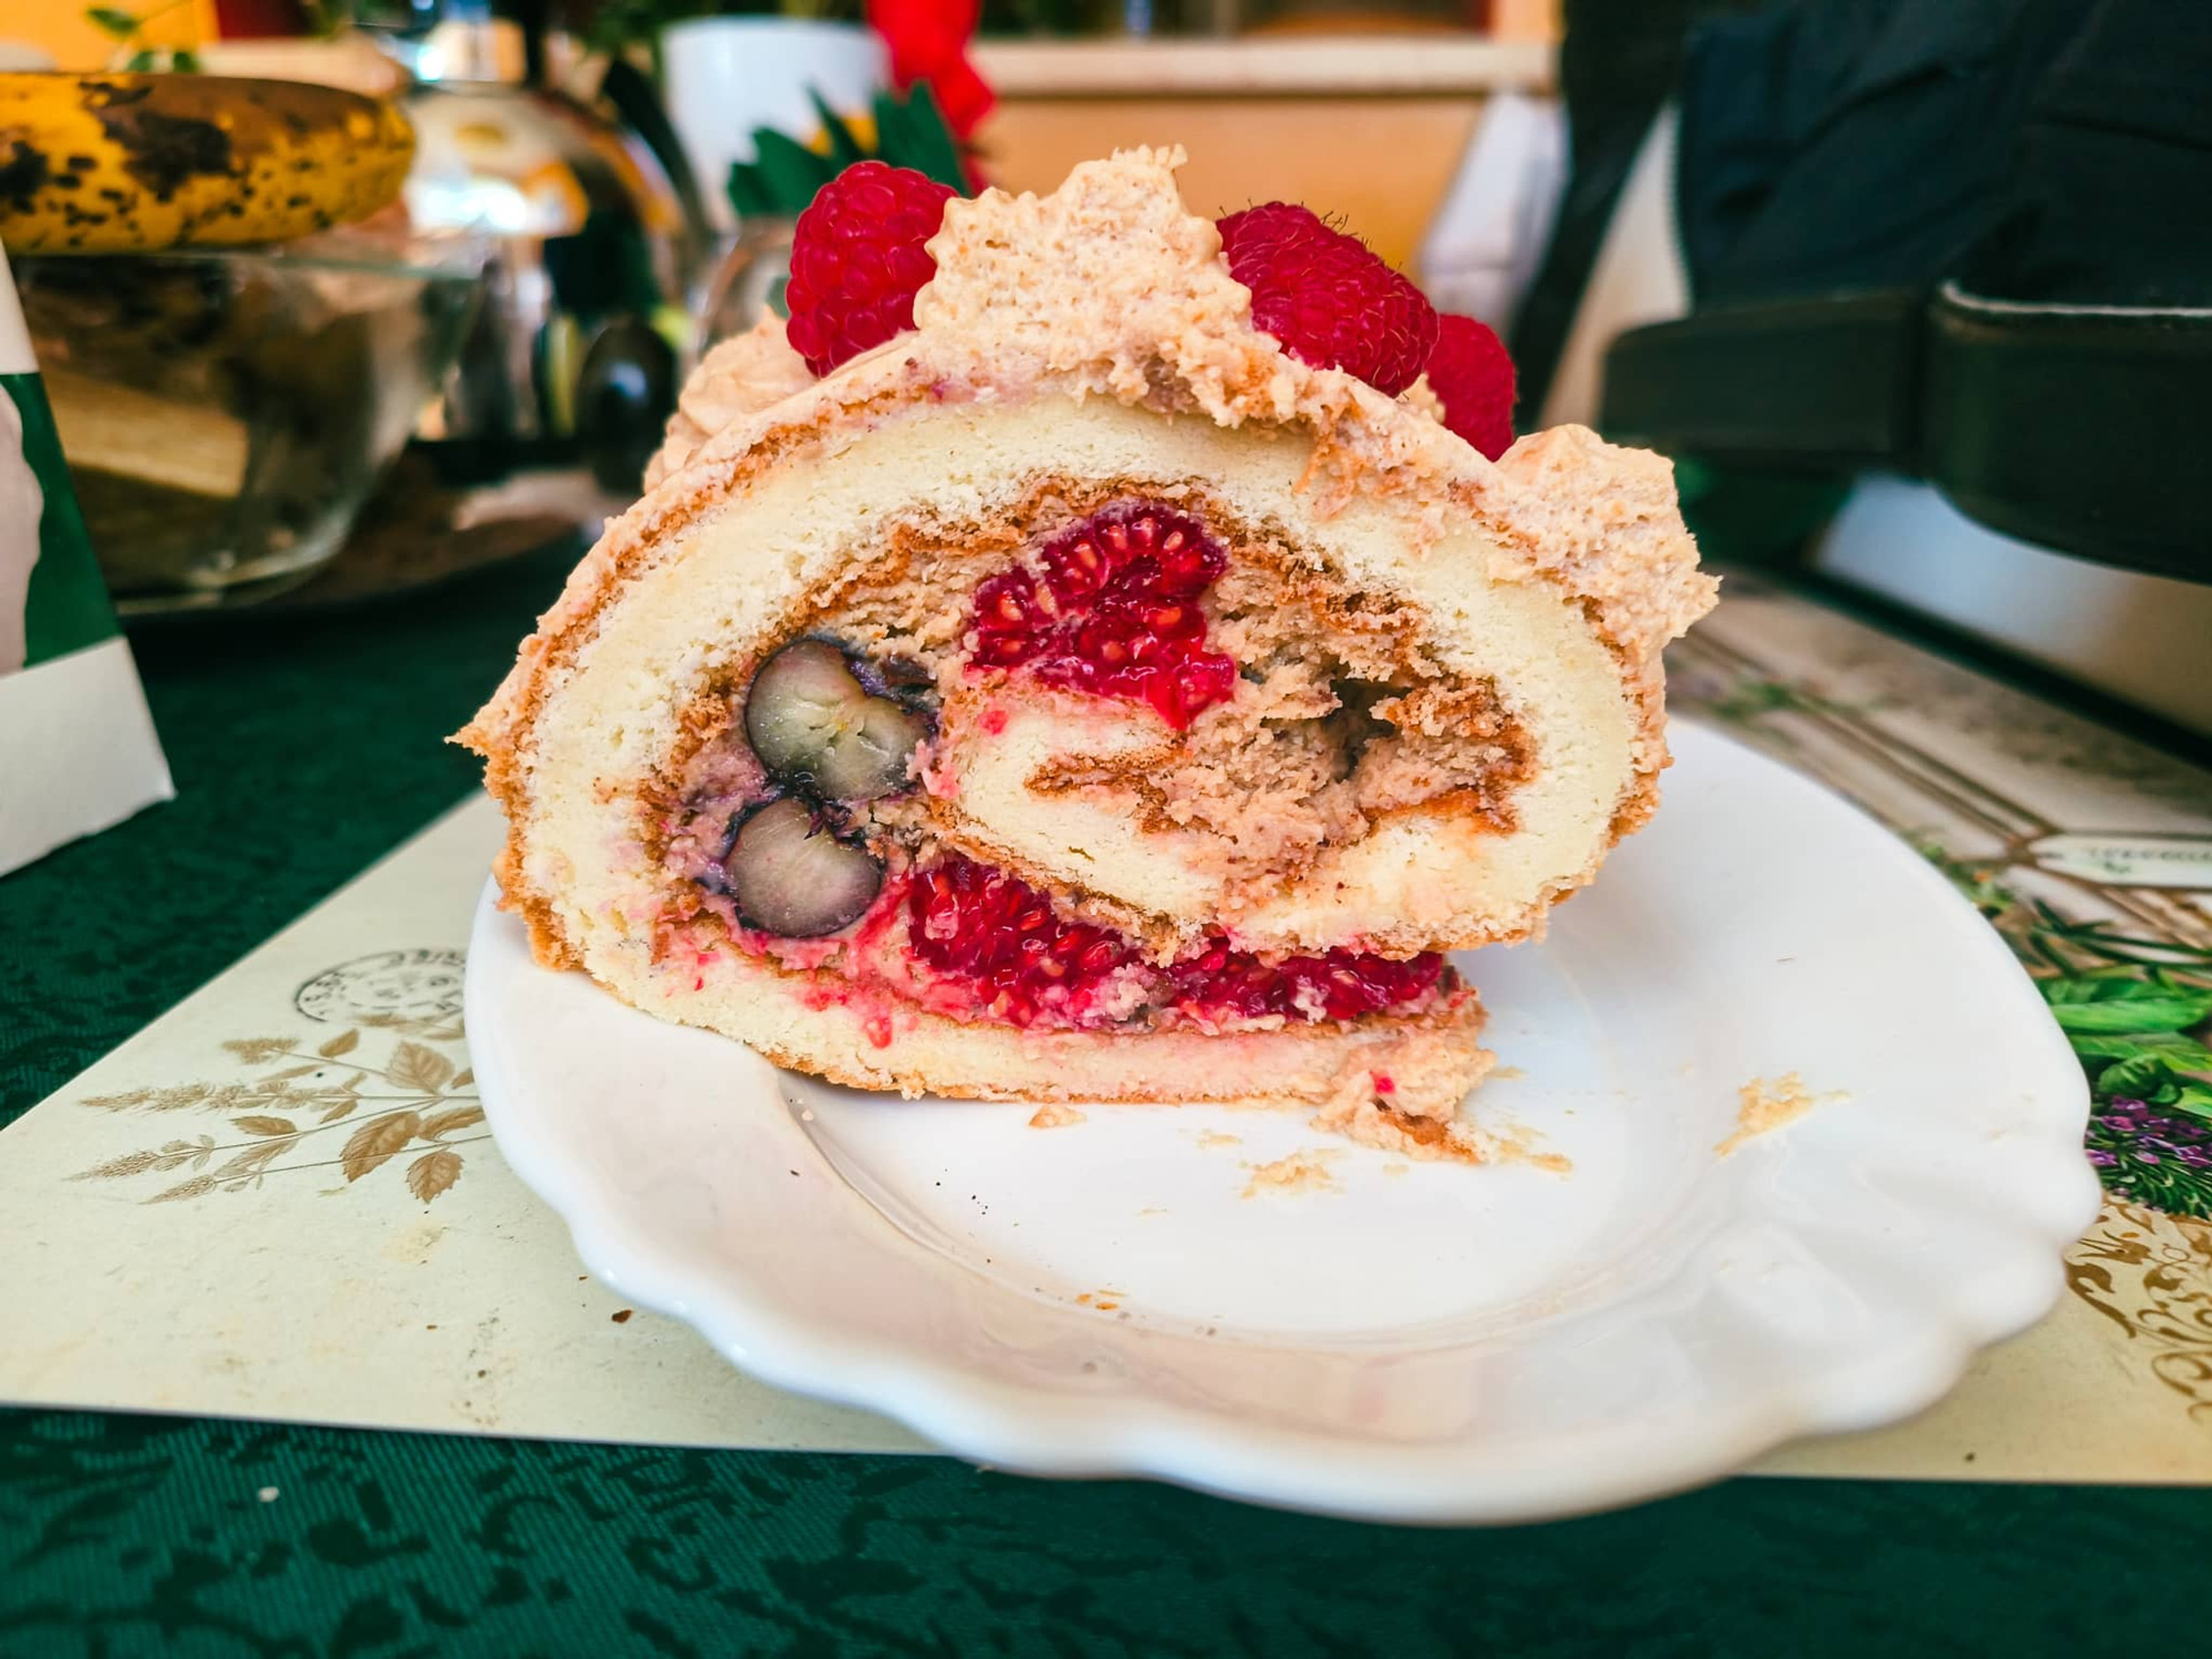
Rich Capri Cake #rich #capri #cake #dessert #food #simple #delicious #serbianfood #serbianrecipe #recipe #foodporn #dessertlovers #blog #coffeetimelena #blog
Use the contact form for questions or advice.
I would be happy if you would comment on my recipes and give them a like.


Comments